こんにちは、モンゴロイドのデザイナーです。
去年の後半ぐらいから、少しづつ「グリッチエフェクト」を見かけるようになりましたね!
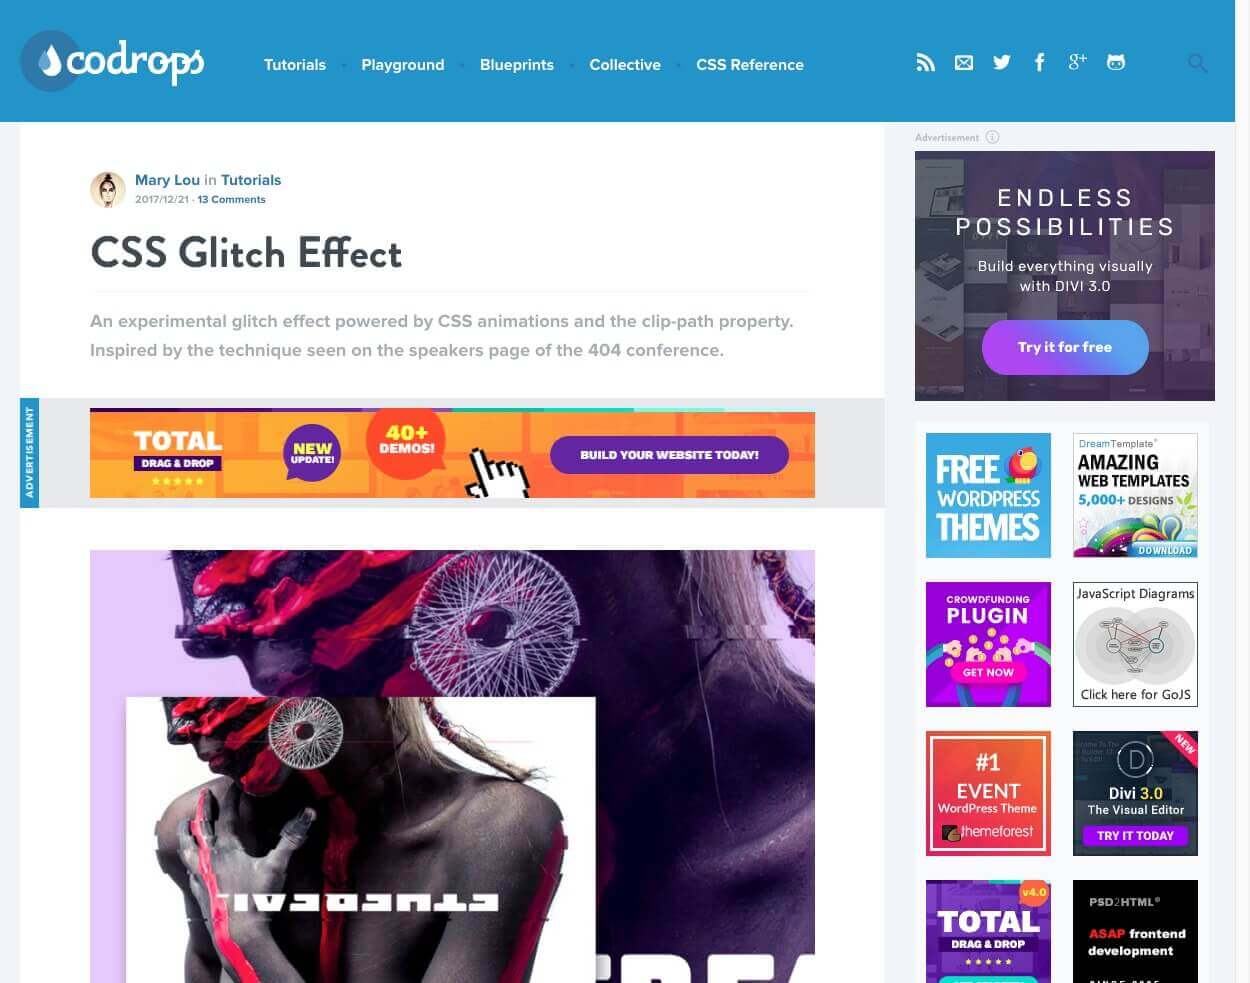
そこで今回は「グリッチエフェクト」を簡単に実装できる「CSS Glitch Effect」プラグインをご紹介します!
「CSS Glitch Effect」は、クリッピングパスとCSSアニメーションを使用したものです。
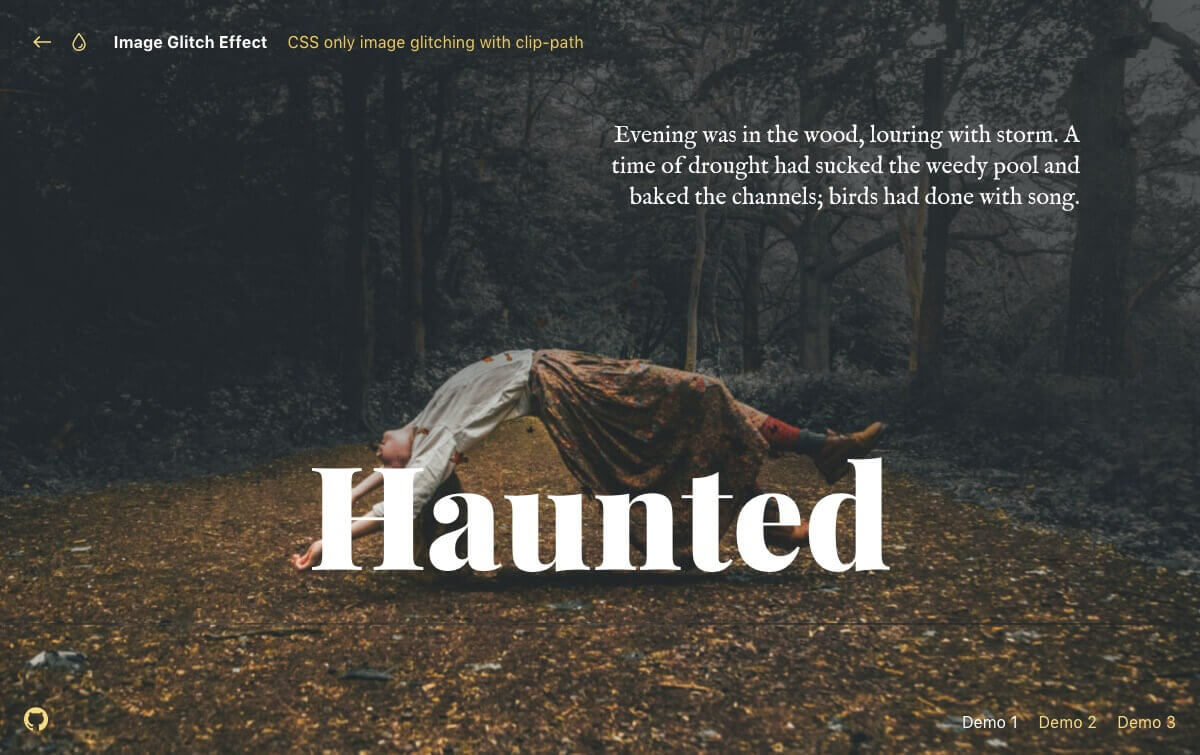
デモサイトが3タイプ用意されており、タイプごとにノイズの表現が異なります。
- デモサイト01:https://tympanus.net/Tutorials/CSSGlitchEffect/index.html
- デモサイト02:https://tympanus.net/Tutorials/CSSGlitchEffect/index2.html
- デモサイト03:https://tympanus.net/Tutorials/CSSGlitchEffect/index3.html
ダウンロード

https://tympanus.net/codrops/2017/12/21/css-glitch-effect/
codropsの「Download Source」ボタンを押すとデータをダウンロードできます。今回使用するのは下記のファイルです。
- index.html
- index2.html
- index3.html
- css/demo1.js
- js/imagesloaded.pkgd.min.js
- js/demo.js
セットアップ
①背景画像のアニメーションを設定
5つの画像を使い、それぞれの画像をランダムでオーバーレイさせ、クリップパスをアニメーション化することで再現します。
[html]
<div class="glitch glitch–style-1">
<div class="glitch__img"></div>
<div class="glitch__img"></div>
<div class="glitch__img"></div>
<div class="glitch__img"></div>
<div class="glitch__img"></div>
</div>
[/html]
hover効果の主なスタイルを見てみましょう。
[css]
.glitch {
position: relative;
width: var(–glitch-width);
max-width: 400px;
height: var(–glitch-height);
max-height: calc(400px * 1.25);
overflow: hidden;
margin: 0 auto;
}
.glitch:hover {
cursor: pointer;
}
.glitch__img {
position: absolute;
top: calc(-1 * var(–gap-vertical));
left: calc(-1 * var(–gap-horizontal));
width: calc(100% + var(–gap-horizontal) * 2);
height: calc(100% + var(–gap-vertical) * 2);
background: url(../img/1.jpg) no-repeat 50% 0;
background-color: var(–blend-color-1);
background-size: cover;
background-blend-mode: var(–blend-mode-1);
}
[/css]
②各レイヤーの背景色とブレンドモード(描画モード)を設定
ブレンドモード(描画モード)とは!
複数の画像や色を様々な手法で重ね合わせ、独特の効果を生み出す方法です。
[css]
.glitch__img:nth-child(2) {
background-color: var(–blend-color-2);
background-blend-mode: var(–blend-mode-2);
}
.glitch__img:nth-child(3) {
background-color: var(–blend-color-3);
background-blend-mode: var(–blend-mode-3);
}
.glitch__img:nth-child(4) {
background-color: var(–blend-color-4);
background-blend-mode: var(–blend-mode-4);
}
.glitch__img:nth-child(5) {
background-color: var(–blend-color-5);
background-blend-mode: var(–blend-mode-5);
}
[/css]
hover効果になるので、最初のレイヤーを除くすべてのレイヤーをデフォルトで非表示にします。
[css]
.glitch__img:nth-child(n+2) {
opacity: 0;
}
[/css]
hover時には、すべてのレイヤーを表示します。
[css]
.glitch:hover .glitch__img:nth-child(n+2) {
opacity: 1;
}
[/css]
また、各レイヤーにアニメーションとトランスフォームを適用します。
calc(-1 * var(–gap-horizontal))で変数の値を設定することができます。
トランスフォームとは!
transformプロパティを使うことで、要素に対して移動、回転、伸縮、傾斜の変形を加えることができます。
[css]
.glitch:hover .glitch__img:nth-child(2) {
transform: translate3d(var(–gap-horizontal),0,0);
animation: glitch-anim-1-horizontal var(–time-anim) infinite linear alternate;
}
.glitch:hover > .glitch__img:nth-child(3) {
transform: translate3d(calc(-1 * var(–gap-horizontal)),0,0);
animation: glitch-anim-2-horizontal var(–time-anim) infinite linear alternate;
}
.glitch:hover > .glitch__img:nth-child(4) {
transform: translate3d(0, calc(-1 * var(–gap-vertical)), 0) scale3d(-1,-1,1);
animation: glitch-anim-3-horizontal var(–time-anim) infinite linear alternate;
}
/* Hover flash animation on last image */
.glitch:hover > .glitch__img:nth-child(5) {
animation: glitch-anim-flash 0.5s steps(1,end) infinite;
}
[/css]
③クリップパスのアニメーションを設定
スライスは小さなものから少しづつ大きくなり、フレームの一部に「一時停止」が残され、別の位置から再び開始されます。
[css]
@keyframes glitch-anim-1-horizontal {
0% {
-webkit-clip-path: polygon(0 2%, 100% 2%, 100% 5%, 0 5%);
clip-path: polygon(0 2%, 100% 2%, 100% 5%, 0 5%);
}
10% {
-webkit-clip-path: polygon(0 15%, 100% 15%, 100% 15%, 0 15%);
clip-path: polygon(0 15%, 100% 15%, 100% 15%, 0 15%);
}
20% {
-webkit-clip-path: polygon(0 10%, 100% 10%, 100% 20%, 0 20%);
clip-path: polygon(0 10%, 100% 10%, 100% 20%, 0 20%);
}
30% {
-webkit-clip-path: polygon(0 1%, 100% 1%, 100% 2%, 0 2%);
clip-path: polygon(0 1%, 100% 1%, 100% 2%, 0 2%);
}
40% {
-webkit-clip-path: polygon(0 33%, 100% 33%, 100% 33%, 0 33%);
clip-path: polygon(0 33%, 100% 33%, 100% 33%, 0 33%);
}
50% {
-webkit-clip-path: polygon(0 44%, 100% 44%, 100% 44%, 0 44%);
clip-path: polygon(0 44%, 100% 44%, 100% 44%, 0 44%);
}
60% {
-webkit-clip-path: polygon(0 50%, 100% 50%, 100% 20%, 0 20%);
clip-path: polygon(0 50%, 100% 50%, 100% 20%, 0 20%);
}
70% {
-webkit-clip-path: polygon(0 70%, 100% 70%, 100% 70%, 0 70%);
clip-path: polygon(0 70%, 100% 70%, 100% 70%, 0 70%);
}
80% {
-webkit-clip-path: polygon(0 80%, 100% 80%, 100% 80%, 0 80%);
clip-path: polygon(0 80%, 100% 80%, 100% 80%, 0 80%);
}
90% {
-webkit-clip-path: polygon(0 50%, 100% 50%, 100% 55%, 0 55%);
clip-path: polygon(0 50%, 100% 50%, 100% 55%, 0 55%);
}
100% {
-webkit-clip-path: polygon(0 70%, 100% 70%, 100% 80%, 0 80%);
clip-path: polygon(0 70%, 100% 70%, 100% 80%, 0 80%);
}
}
[/css]
次のアニメーションは、最後のレイヤーの単純なフラッシュになります。
この効果をテキスト要素に適用することもできます。
[css]
@keyframes glitch-anim-flash {
0% {
opacity: 0.2;
transform: translate3d(var(–gap-horizontal), var(–gap-vertical), 0);
}
33%, 100% {
opacity: 0;
transform: translate3d(0,0,0);
}
}
[/css]
まとめ
遊び心のある動きとして、ファーストビューに使用するとおもしろいと思います。一度試してみてはいかがでしょうか?
参照元:https://tympanus.net/codrops/2017/12/21/css-glitch-effect/


